


Boost Your Productivity with These 10 Power Automate Desktop Tips

Automation has become a game-changer for boosting productivity in today’s fast-paced work environments. Power Automate Desktop empowers you to streamline repetitive tasks and create efficient workflows effortlessly. According to recent studies, 73% of IT leaders report a 50% reduction in time spent on manual tasks through automation, while 78% of business leaders observe improved productivity. By adopting practical tips, you can unlock the full potential of Power Automate and focus on innovation and strategic goals.
Key Takeaways
Use ready-made templates in Power Automate Desktop to automate tasks fast. This helps save time and avoid mistakes.
Keep your workflows neat with clear names and organized steps. This makes them easier to understand and follow.
Learn to use variables to make automation more flexible. Clear names and smart grouping make workflows easier to manage.
1. Start with Pre-Built Power Automate Desktop Templates
Benefits of Using Templates
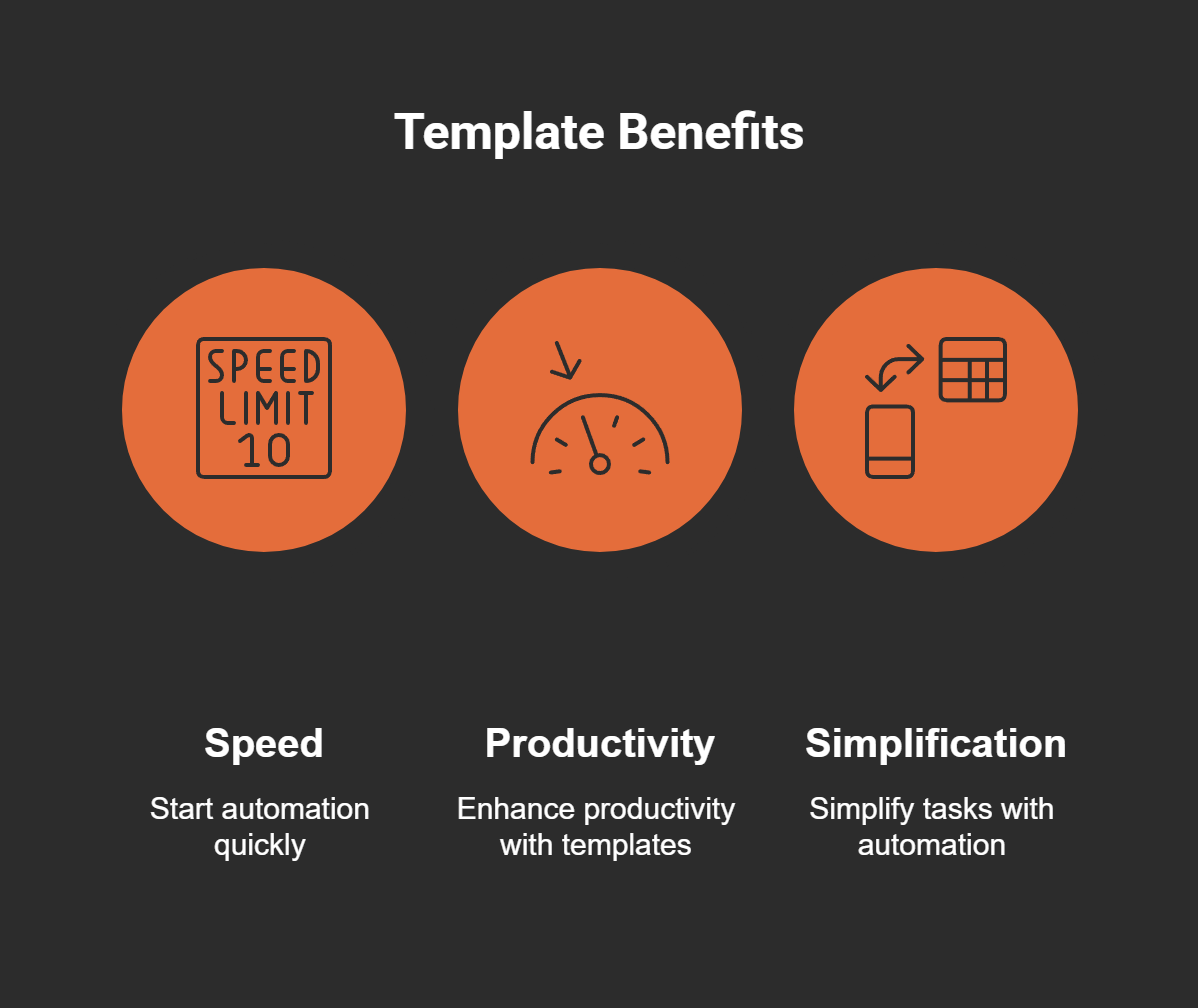
Pre-built templates in Power Automate Desktop offer a quick and efficient way to start automating tasks. These templates eliminate the need to build workflows from scratch, making desktop automation accessible even for beginners. You can use them to save time and focus on improving efficiency in your processes. For example, templates for syncing files or automating email responses simplify complex tasks, allowing you to create workflows with minimal effort.
Templates also provide a structured foundation for your automation projects. They include predefined actions and logic tailored to common scenarios, ensuring your workflows are optimized for productivity. By leveraging these templates, you can reduce errors and streamline repetitive tasks effectively.
How to Access and Customize Templates
Accessing templates in Power Automate Desktop is straightforward. Open the tool and navigate to the "Templates" section. Here, you’ll find a wide range of options for common automation scenarios. Browse through the available templates and select one that matches your needs.
Customizing templates is equally simple. After selecting a template, view the desktop flow to understand its structure. You can modify actions, add new steps, or adjust variables to suit your specific requirements. These tweaks allow you to tailor the workflow to your unique processes while maintaining the efficiency of the original design.
By using templates and customizing them, you can implement the best Power Automate tips and tricks to optimize your workflows. This approach not only saves time but also ensures your automation flows align perfectly with your goals.
2. Organize Power Automate Desktop Flows for Better Clarity
Naming Conventions for Flows and Actions
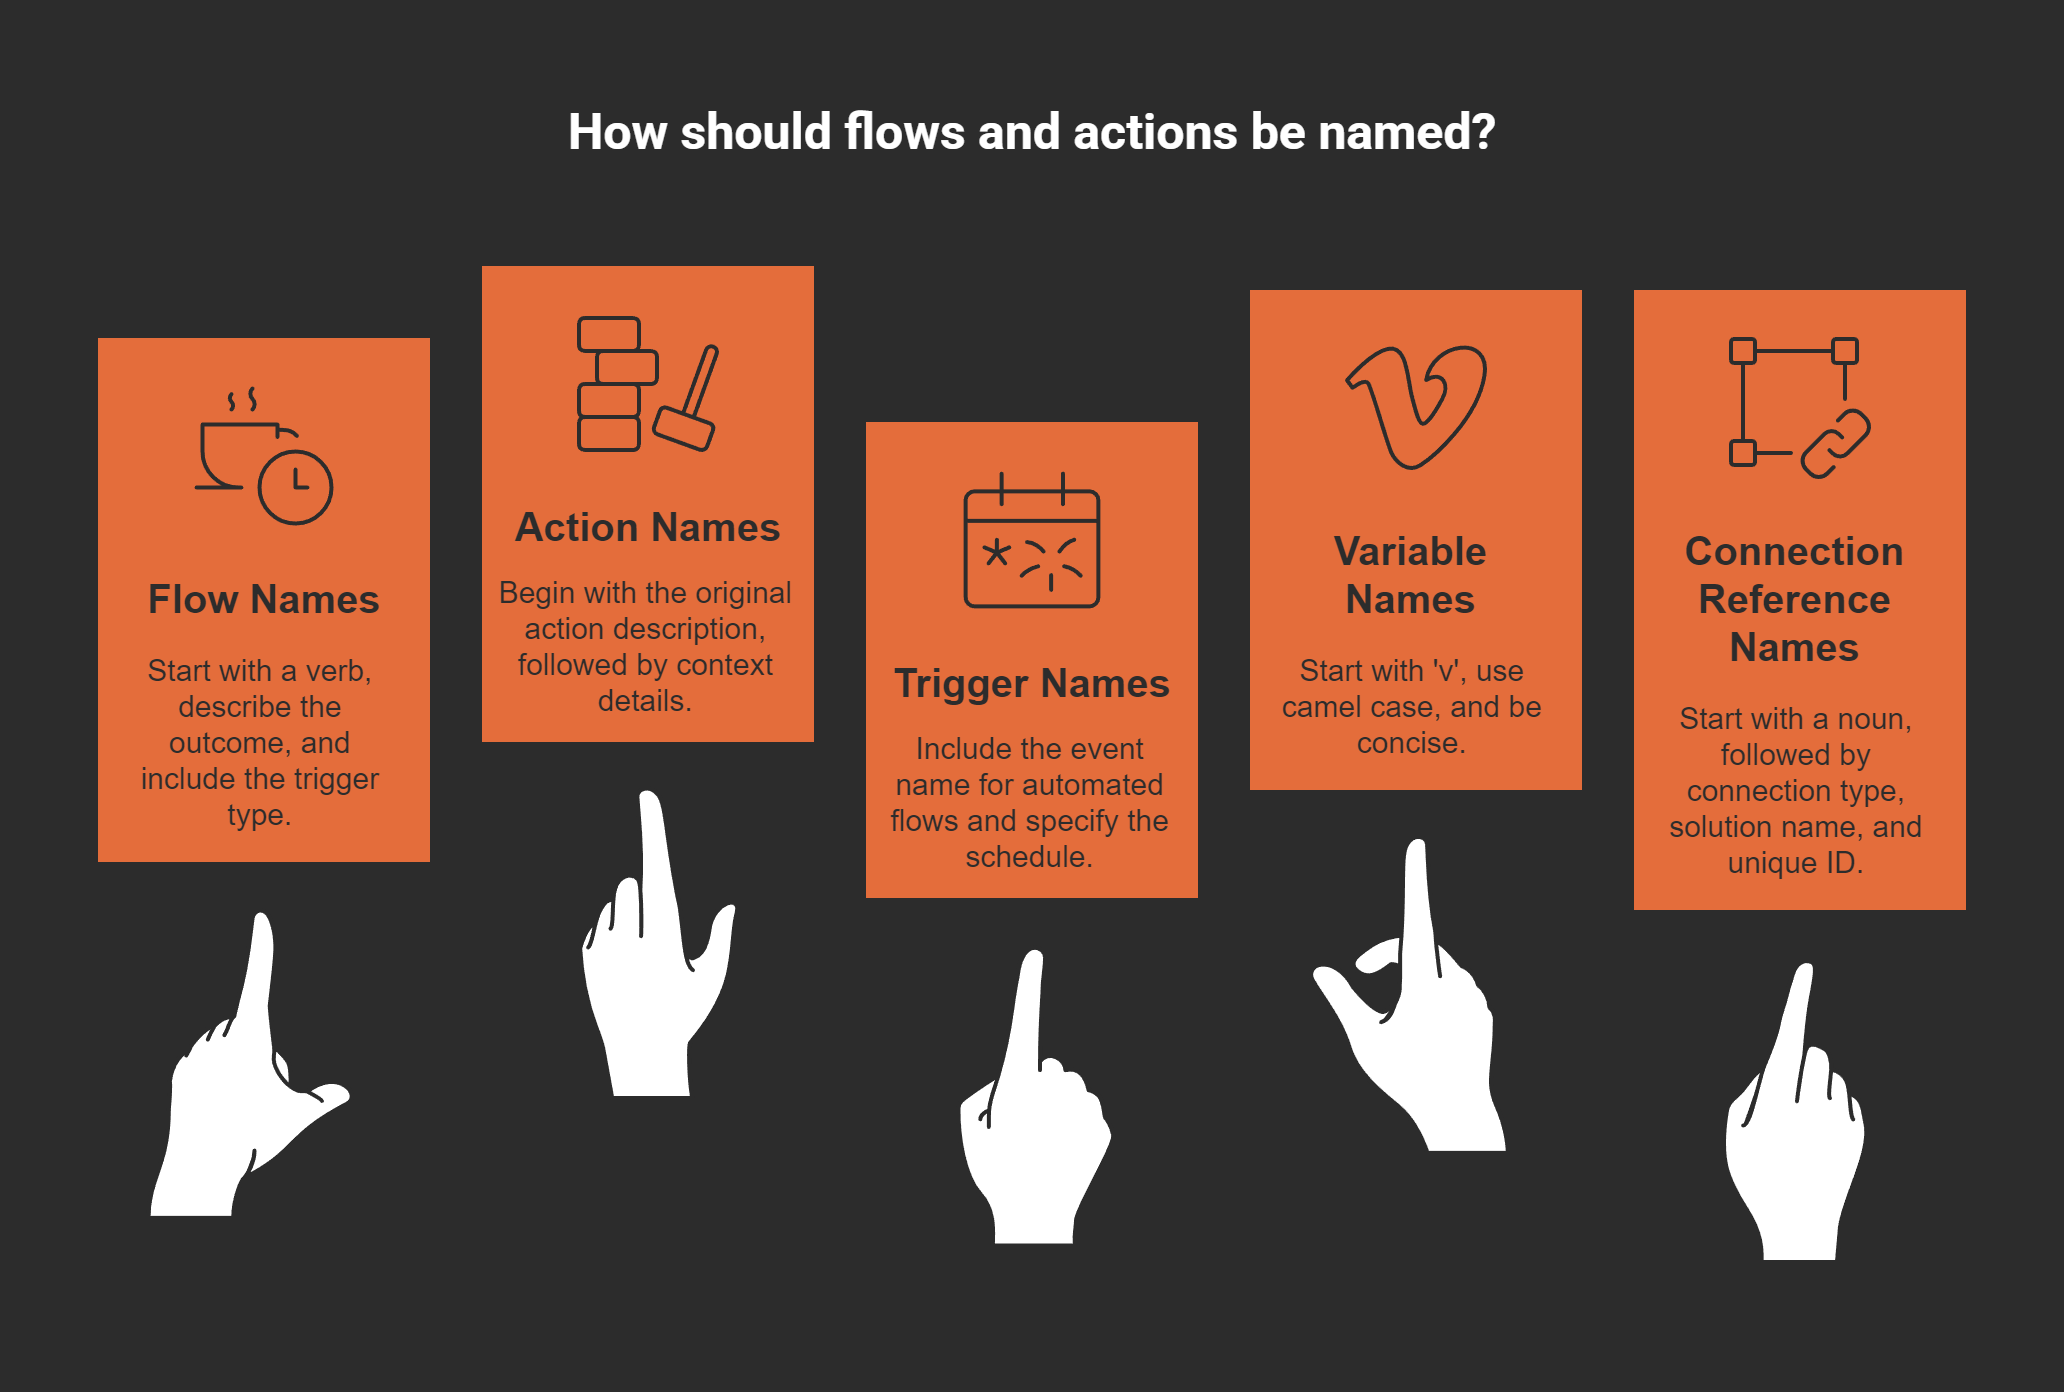
Clear naming conventions make your Power Automate Desktop workflows easier to understand and manage. When naming flows, start with a verb that describes the action, followed by the outcome and trigger type. For example, "SendEmail_OnSchedule" clearly indicates the flow’s purpose and timing. Action names should begin with the original action description, followed by context details. For instance, "ExtractData:CustomerInfo" provides clarity on what the action accomplishes.
Variables also benefit from consistent naming. Prefix variable names with "v" and use camel case for readability, such as "vCustomerData." Connection references should include the connection type, solution name, and a unique identifier. These guidelines ensure your workflows remain organized and intuitive.
Structuring Flows for Easy Navigation
Organizing your flows effectively improves clarity and simplifies navigation. Break down complex workflows into smaller, manageable sections. Use subflows to group related actions, making it easier to locate and update specific parts of your automation. For example, a subflow for "DataValidation" can handle all checks for completeness and correctness.
Visual organization also plays a key role. Separate flows based on their purpose, such as those requiring manual intervention versus fully automated ones. This distinction helps you identify compliance issues and user action requirements quickly.
Benefits of Structuring Flows:
Distinguishes between scenarios requiring no action and those needing manual intervention.
Enhances clarity by visually separating flows at risk of suspension from those running smoothly.
Improves efficiency in identifying and resolving issues.
By following these tips, you can create workflows that are not only functional but also easy to navigate and maintain. Organized flows save time and reduce errors, allowing you to focus on optimizing your desktop automation processes.
3. Master Variables in Power Automate Desktop
Variables play a crucial role in Power Automate Desktop by storing and managing data dynamically within your workflows. Mastering variables allows you to create more flexible and efficient automation processes.
Types of Variables and Their Uses
Power Automate Desktop offers several types of variables, each serving a specific purpose. Understanding these types helps you choose the right one for your automation needs:
Text Variables: Use these to store strings like names, email addresses, or file paths. For example, you can save a customer’s name and reuse it in multiple steps.
Numeric Variables: These hold numbers, making them ideal for calculations or counters in loops.
Boolean Variables: Store true/false values to control conditional logic in your workflows.
List Variables: Use these to manage collections of items, such as a list of file names or email addresses.
Data Table Variables: These are perfect for handling structured data, like rows and columns from a spreadsheet.
Each variable type enhances the flexibility of your automation, allowing you to adapt workflows to different scenarios.
Best Practices for Managing Variables
Effective variable management ensures your Power Automate flows remain organized and error-free. Follow these tips to handle variables like a pro:
Use Descriptive Names: Always name variables clearly to reflect their purpose. For instance, "vCustomerName" is more meaningful than "v1."
Group Variables Logically: Organize related variables together to simplify debugging and updates.
Initialize Variables Early: Define variables at the start of your flow to avoid unexpected errors later.
Minimize Variable Scope: Limit the use of variables to specific sections of your flow to prevent conflicts.
Document Variable Usage: Add comments to explain the purpose of complex variables, making your workflows easier to understand.
By mastering these practices, you can optimize your Power Automate Desktop workflows and reduce errors. These power automate flow tips will help you create robust automation processes that save time and effort.
4. Add Logic with Conditional Power Automate Flow Tips
Using If/Else Conditions Effectively
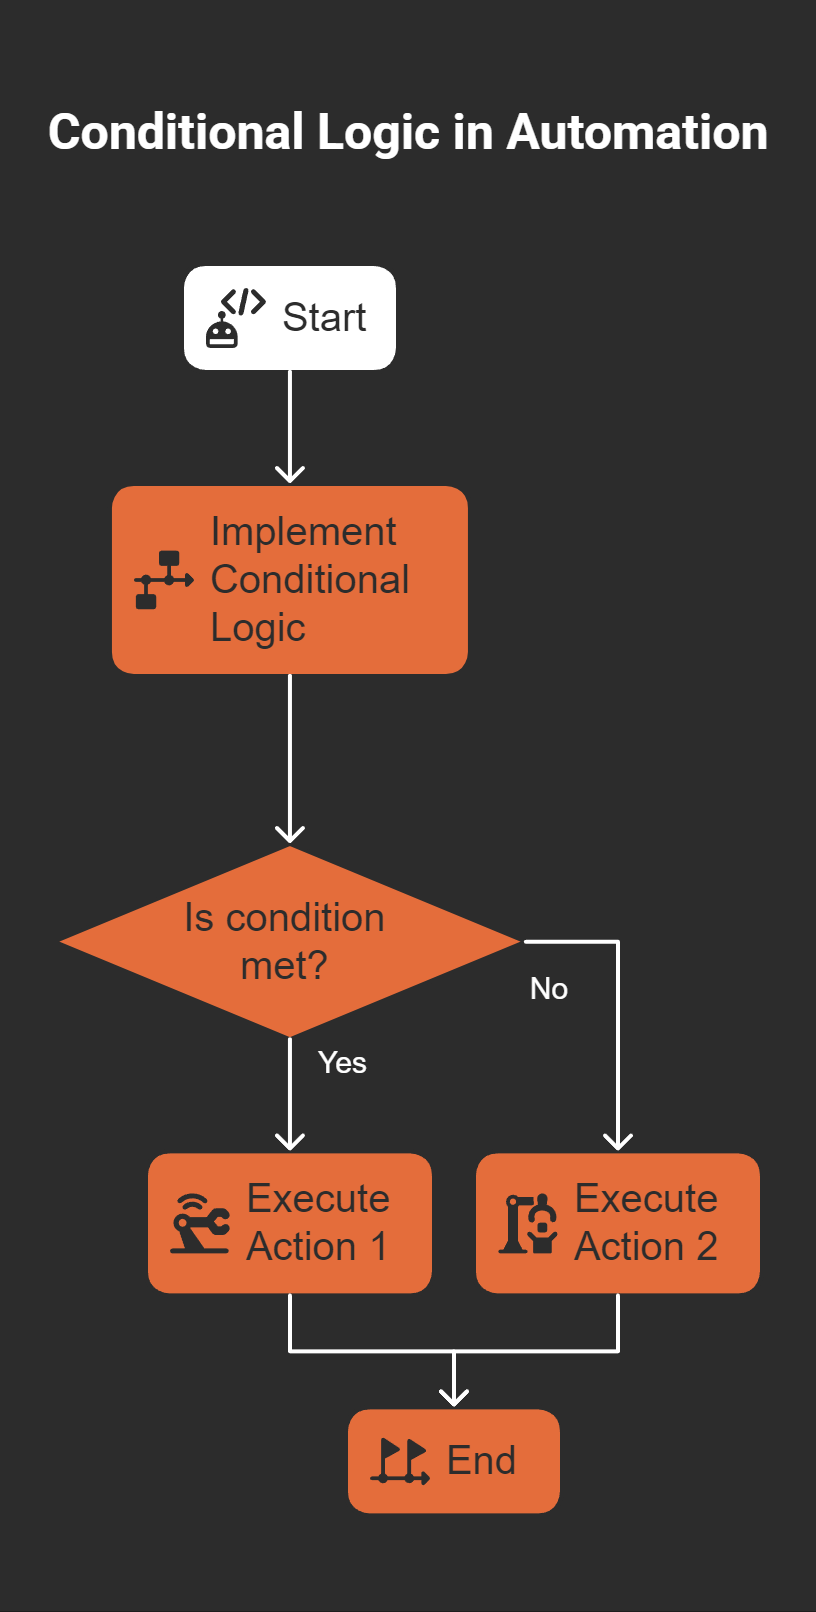
Conditional logic is a powerful feature in Power Automate Desktop that allows you to make decisions within your workflows. By using If/Else conditions, you can create dynamic flows that adapt to different scenarios. This flexibility ensures your automation processes remain efficient and tailored to specific needs.
For example, If/Else conditions can help you:
Direct employees to relevant resources based on their needs.
Use prospect feedback to tailor educational offerings.
Calculate financial aid data for incoming students.
Prefill or hide form fields using single sign-on (SSO) data.
To use If/Else conditions effectively, start by identifying the criteria that will guide your decisions. Define clear rules for each condition and ensure they align with your workflow goals. For instance, you can automate data entry by setting conditions to validate input fields before proceeding. This approach reduces errors and improves accuracy.
Examples of Conditional Logic in Automation
Conditional logic enhances automation by enabling workflows to branch based on specific criteria. Whether you want to automate Excel reports or streamline report generation, conditional logic ensures your processes run smoothly.
For instance, you can use conditional logic to automate Excel reports by checking if data meets predefined thresholds. If the data is valid, the flow proceeds to generate the report. Otherwise, it triggers an alert for manual review. Similarly, you can automate report generation by using conditions to filter data based on specific parameters, ensuring the final output is accurate and relevant.
By mastering conditional logic, you can create workflows that are not only efficient but also intelligent. These tips will help you harness the full potential of Power Automate Desktop and take your automation processes to the next level.
5. Automate Data Collection with Recorders
Using the Web Recorder for Data Extraction
The Web Recorder in Power Automate Desktop simplifies data collection from websites. It captures your actions, such as clicks and text entries, and converts them into automation steps. This tool is perfect for tasks like extracting product prices, customer reviews, or contact details from web pages.
To use the Web Recorder, open Power Automate Desktop and select the "Web Recorder" option. Navigate to the website you want to extract data from and perform the actions you want to automate. The recorder will track your steps and create a flow. After recording, review the flow to ensure accuracy. You can edit the steps or add conditions to refine the process.
This feature helps you automate data entry and streamline repetitive tasks. By using the Web Recorder, you save time and reduce errors in your workflows.
Desktop Recorder Tips for Accurate Automation
The Desktop Recorder captures actions on your computer, such as opening files, typing, or clicking buttons. To ensure accurate automation, follow these tips:
Perform actions slowly and deliberately while recording.
Use clear and consistent file paths to avoid errors.
Test the recorded flow to verify its accuracy.
For example, you can automate Excel reports by recording the steps to open a spreadsheet, apply filters, and save the file. This approach simplifies report generation and ensures consistency.
By mastering the Desktop Recorder, you can enhance your automation skills and create reliable workflows. These tips will help you make the most of Power Automate Desktop’s recording features.
6. Implement Error Handling in Power Automate Desktop Flows
Error handling is a critical component of creating reliable workflows in Power Automate Desktop. By implementing robust error management techniques, you can ensure your automation processes run smoothly, even when unexpected issues arise.
Setting Up Try Catch Actions
The Try Catch pattern is an essential tool for managing exceptions in Power Automate flows. It allows you to handle errors gracefully and maintain the integrity of your workflows. The Try block executes the main tasks, while the Catch block addresses any exceptions that occur. Additionally, the Finally block ensures that cleanup actions are performed, regardless of whether an error was encountered.
To set up Try Catch actions effectively:
Use the Scope action to group multiple tasks within the Try block.
Define the Catch block to manage exceptions, such as logging errors or sending notifications.
Add a Finally block to execute final steps, like closing applications or resetting variables.
This structured approach ensures that your workflows remain resilient. For example, if a data table operation fails, the Catch block can log the error and notify you, while the Finally block ensures the flow completes necessary cleanup tasks.
Common Errors and How to Address Them
Monitoring and addressing common errors is vital for maintaining efficient workflows. The automation center in Power Automate provides insights into flow run failures, helping you identify problematic areas. Common issues include incorrect file paths, missing variables, and data processing errors.
To address these errors:
Use action-level exception handling to manage specific tasks prone to failure.
Validate inputs, such as file paths or data table structures, before executing actions.
Regularly review flow run logs to identify patterns in failures and adjust workflows accordingly.
By proactively managing errors, you can enhance the reliability of your Power Automate Desktop flows. These tips will help you create robust automation processes that save time and reduce manual effort.
7. Speed Up Workflows with Parallel Branching
Understanding Parallel Branching
Parallel branching in Power Automate Desktop allows you to execute multiple tasks simultaneously. This feature is especially useful when your workflow includes independent actions that do not rely on each other. For instance, you can update a database while sending notifications at the same time. By running these tasks in parallel, you reduce the overall execution time and improve efficiency.
Parallel branching works by splitting your workflow into separate branches. Each branch handles a specific task independently. This approach eliminates the need to wait for one task to finish before starting another. As a result, your automation processes become faster and more streamlined.
Tip: Use parallel branching for workflows with tasks that can run independently, such as data processing or sending multiple emails. This strategy ensures optimal use of system resources and saves time.
Scenarios for Using Parallel Processing
Parallel processing is ideal for workflows that involve repetitive or independent tasks. Here are some examples of how you can use it effectively:
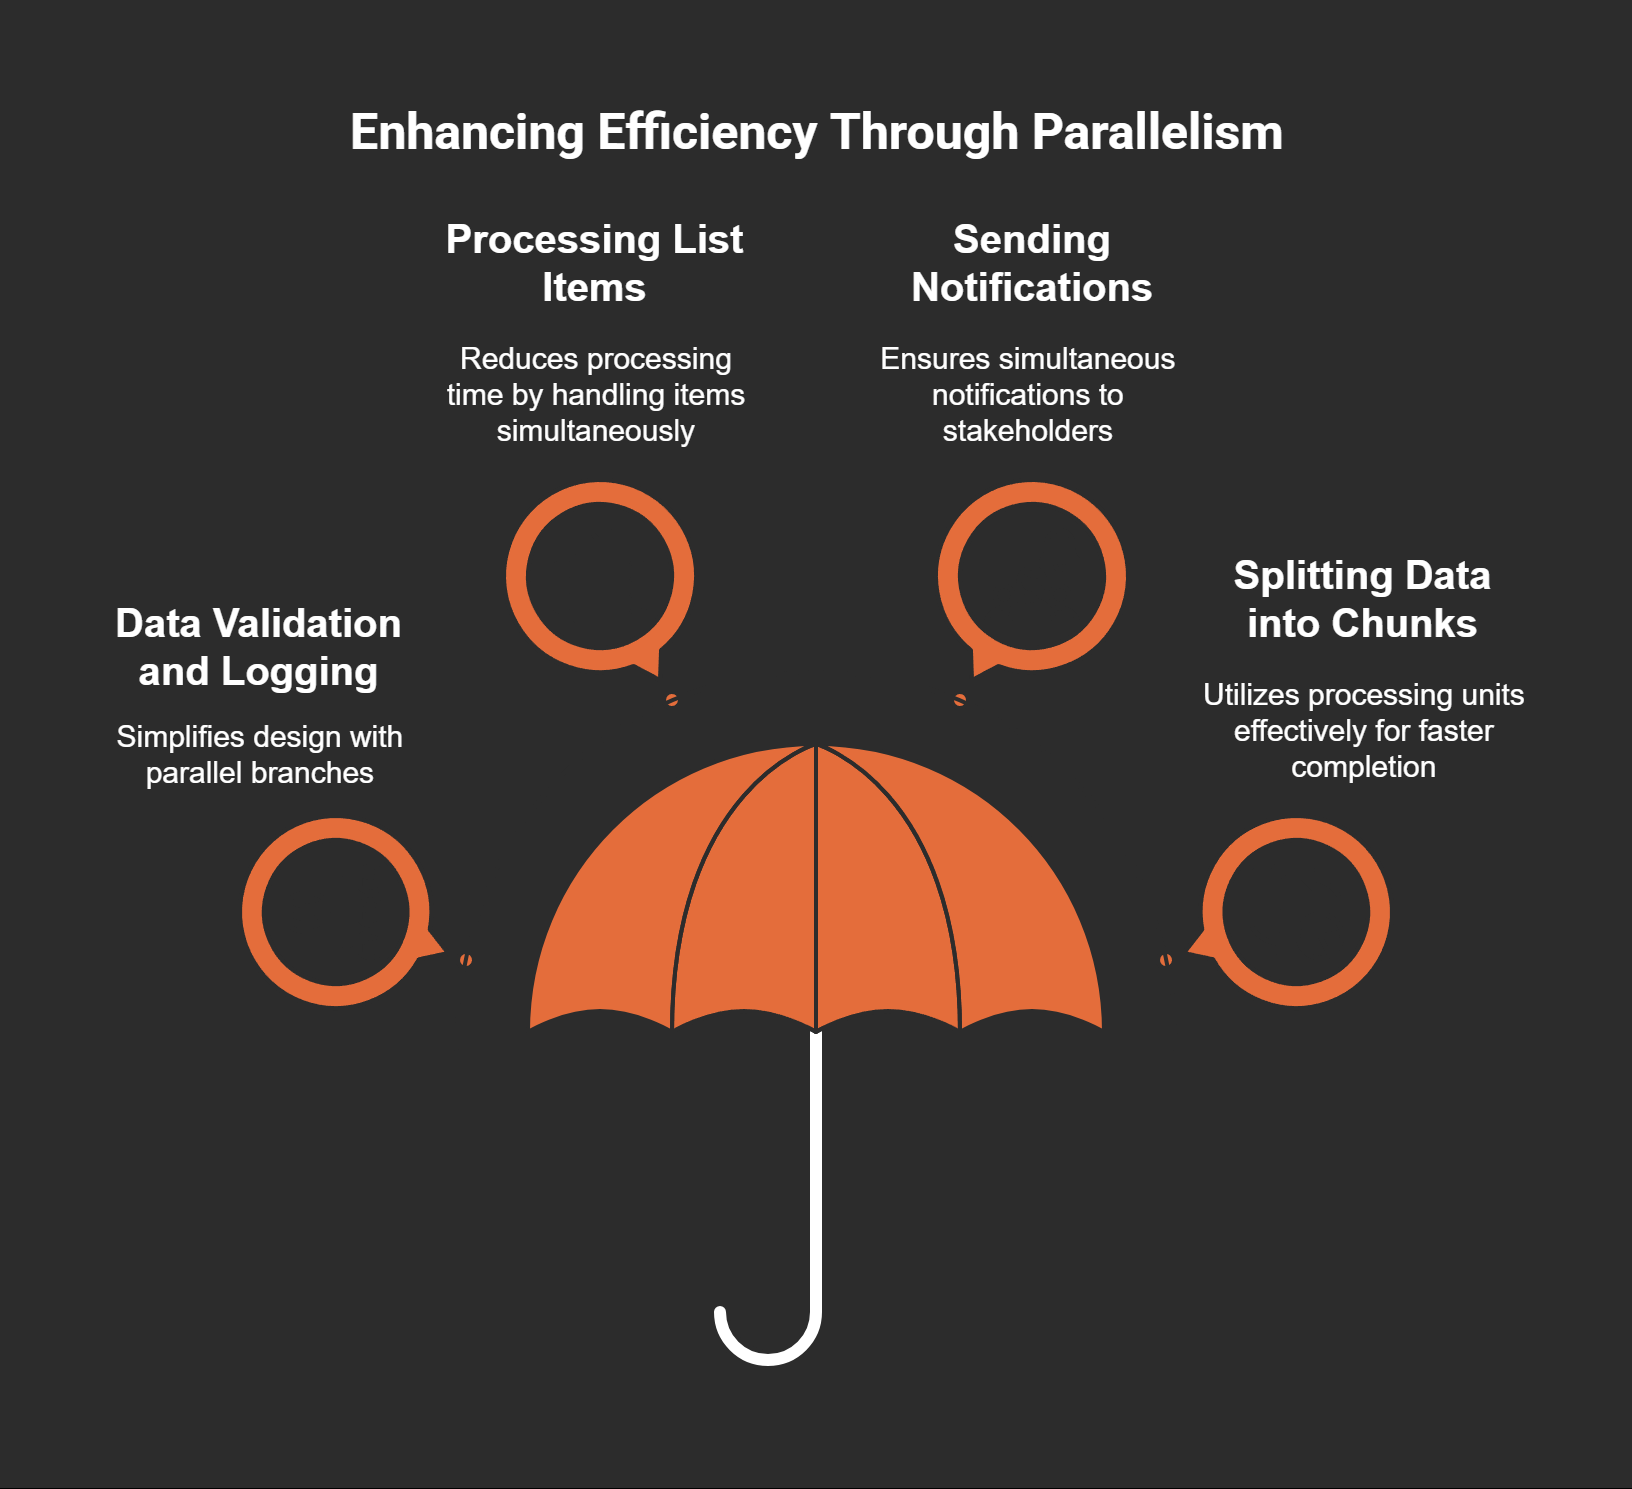
Parallel branching is particularly effective in scenarios involving large datasets or complex workflows. For example, when processing a data table with hundreds of rows, you can divide the data into smaller chunks and process them simultaneously. This method speeds up data processing and ensures timely task completion.
By incorporating parallel branching into your Power Automate workflows, you can optimize your automation processes and achieve faster results. These tips will help you make the most of Power Automate Desktop’s powerful capabilities.
8. Simplify Repetitive Tasks with Loops
Repetitive tasks can consume valuable time and energy. Loops in Power Automate Desktop help you automate these tasks efficiently by repeating actions until specific conditions are met. Mastering loops allows you to handle large datasets and repetitive processes with ease.
Types of Loops in Power Automate Desktop
Power Automate Desktop offers several types of loops to suit different scenarios:
For Each Loop: Use this loop to iterate through a collection, such as a list of files or rows in a data table. It processes each item one by one.
While Loop: This loop continues as long as a specified condition remains true. It is ideal for scenarios where the number of iterations is unknown.
Do Until Loop: Similar to the While Loop, but it ensures the actions run at least once before checking the condition.
Loop Condition: Use this to create custom loops with complex conditions, offering greater flexibility.
Each loop type serves a unique purpose, enabling you to tailor your automation to specific needs.
Practical Applications of Loops in Automation
Loops simplify repetitive tasks by automating actions across multiple items or records. For example, you can use a For Each Loop to process customer orders from a data table or a While Loop to monitor a folder for new files.
To optimize loops in Power Automate, filter data before processing to include only necessary records. This reduces resource usage and improves efficiency. For independent records, enable parallel processing to speed up execution. Misusing loops, such as processing unnecessary data, can lead to resource-intensive workflows and slower performance.
Tip: Combine loops with conditional logic to create intelligent workflows. For instance, use a Do Until Loop to validate data entries and stop when all fields meet the required criteria.
By leveraging loops effectively, you can streamline your workflows and enhance the overall performance of your automation processes.
9. Secure Your Power Automate Desktop Flows
Handling Sensitive Data with Secure Inputs
Handling sensitive data securely is essential when designing workflows in Power Automate Desktop. You can protect confidential information by using secure inputs and following best practices. One effective method is leveraging centralized secret management tools like Azure Key Vault. These tools encrypt sensitive data and control access, ensuring only authorized users can retrieve it.
Power Automate integrates seamlessly with Azure Key Vault, allowing you to dynamically retrieve secrets during execution without exposing them in the flow design. This approach prevents sensitive data from appearing in logs, reducing the risk of accidental exposure. Additionally, role-based access control (RBAC) ensures that only specific users can access stored secrets, enhancing security. By implementing these measures, you can meet regulatory compliance requirements and minimize the risk of data breaches.
Key Security Benchmarks for Secure Inputs:
Centralized secret management encrypts sensitive data and controls access.
Integration with Power Automate enables dynamic retrieval of secrets.
Role-based access control (RBAC) restricts access to authorized users.
Data protection prevents exposure of sensitive information in logs.
Compliance with data protection regulations is supported.
Enhanced security reduces the risk of breaches.
Tips for Protecting Confidential Information
Protecting confidential information in Power Automate Desktop workflows requires a combination of secure practices and tools. Start by managing credentials securely. Avoid storing them in plain text within flows. Instead, use OAuth for authentication or credential management tools to store and access sensitive data safely.
Implementing Data Loss Prevention (DLP) policies is another critical step. These policies categorize connectors and prevent users from mixing business and non-business data, ensuring data integrity. Additionally, limit access to the machine running the automation to authorized personnel only. This restriction reduces the risk of unauthorized access.
By following these tips, you can safeguard sensitive information and maintain the integrity of your automation workflows. These measures ensure that your Power Automate Desktop flows remain secure and reliable.
10. Test and Debug Power Automate Desktop Flows
Testing and debugging are essential steps in creating reliable workflows with Power Automate Desktop. These processes ensure your automation runs smoothly and delivers consistent results.
Importance of Regular Testing
Regular testing helps you identify and fix issues before they disrupt your workflows. By designing robust test cases, you can simulate various scenarios and ensure your automation handles them effectively. Use reliable tools to maintain consistency and integrate tests into a continuous integration (CI) pipeline for immediate feedback on changes. Managing test data is equally important. Consistent datasets make your tests repeatable and reliable.
To speed up testing, execute tests in parallel. This approach saves time and ensures your workflows can handle concurrent interactions. Detailed reporting and logging also play a crucial role. They help you pinpoint issues quickly, reducing downtime. Mocking and stubbing techniques isolate components under test, making debugging more efficient. Finally, fostering a testing culture encourages collaboration between developers and testers, leading to better workflows.
Pro Tip: Automate tests at multiple levels, including unit, API, and integration tests, for comprehensive coverage.
Debugging Techniques for Reliable Automation
Debugging ensures your workflows remain efficient and error-free. Power Automate Desktop offers several tools to simplify this process. Each flow run generates a unique URL, allowing you to track and troubleshoot issues easily. Defining trigger conditions prevents unnecessary executions, saving resources and improving efficiency.
The Peek Code feature is another valuable tool. It lets you view the underlying JSON code of actions, helping you understand and adjust complex workflows. Additionally, error handling mechanisms like "Configure run after" settings allow you to dictate actions based on the success or failure of previous steps. These techniques ensure your automation remains robust and adaptable.
By combining regular testing with effective debugging techniques, you can create workflows that are both reliable and efficient. These tips will help you maximize the potential of Power Automate Desktop and ensure your automation delivers consistent results.
Applying these Power Automate Desktop tips can transform how you work. You save time, reduce manual effort, and improve workflow efficiency. Automation empowers you to focus on meaningful tasks instead of repetitive ones. Start exploring Power Automate today. Implement these tips to unlock its full potential and elevate your productivity.
FAQ
What is Power Automate Desktop best used for?
Power Automate Desktop is ideal for automating repetitive tasks, such as data entry, file management, and report generation, across multiple applications and systems.
Can beginners use Power Automate Desktop effectively?
Yes! Its user-friendly interface and pre-built templates make it accessible for beginners. You can start automating tasks without prior coding knowledge.
How does Power Automate Desktop handle errors?
It uses error-handling tools like Try Catch actions. These tools help you manage exceptions, log errors, and maintain workflow integrity.
Tip: Explore the built-in Recorder to simplify automation and save time on repetitive tasks.